Get started
Quick start
Website analytics setup takes three steps: add a site, install one script and open your live site.
1. Add your site
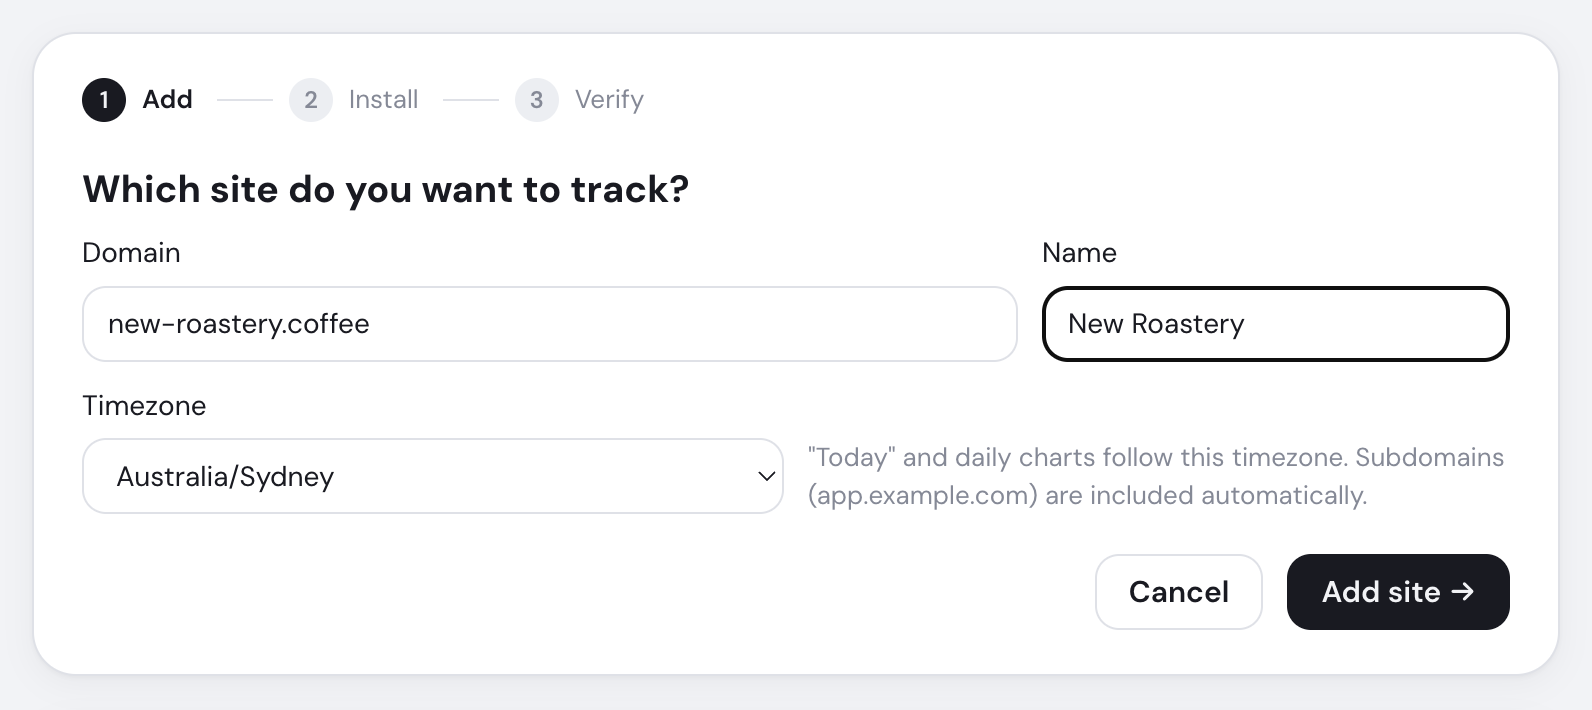
In Settings, click Add a site. Enter the domain without https:// or www., check its name and timezone, then click Add site →.
2. Add analytics to website pages
What's your site built with?


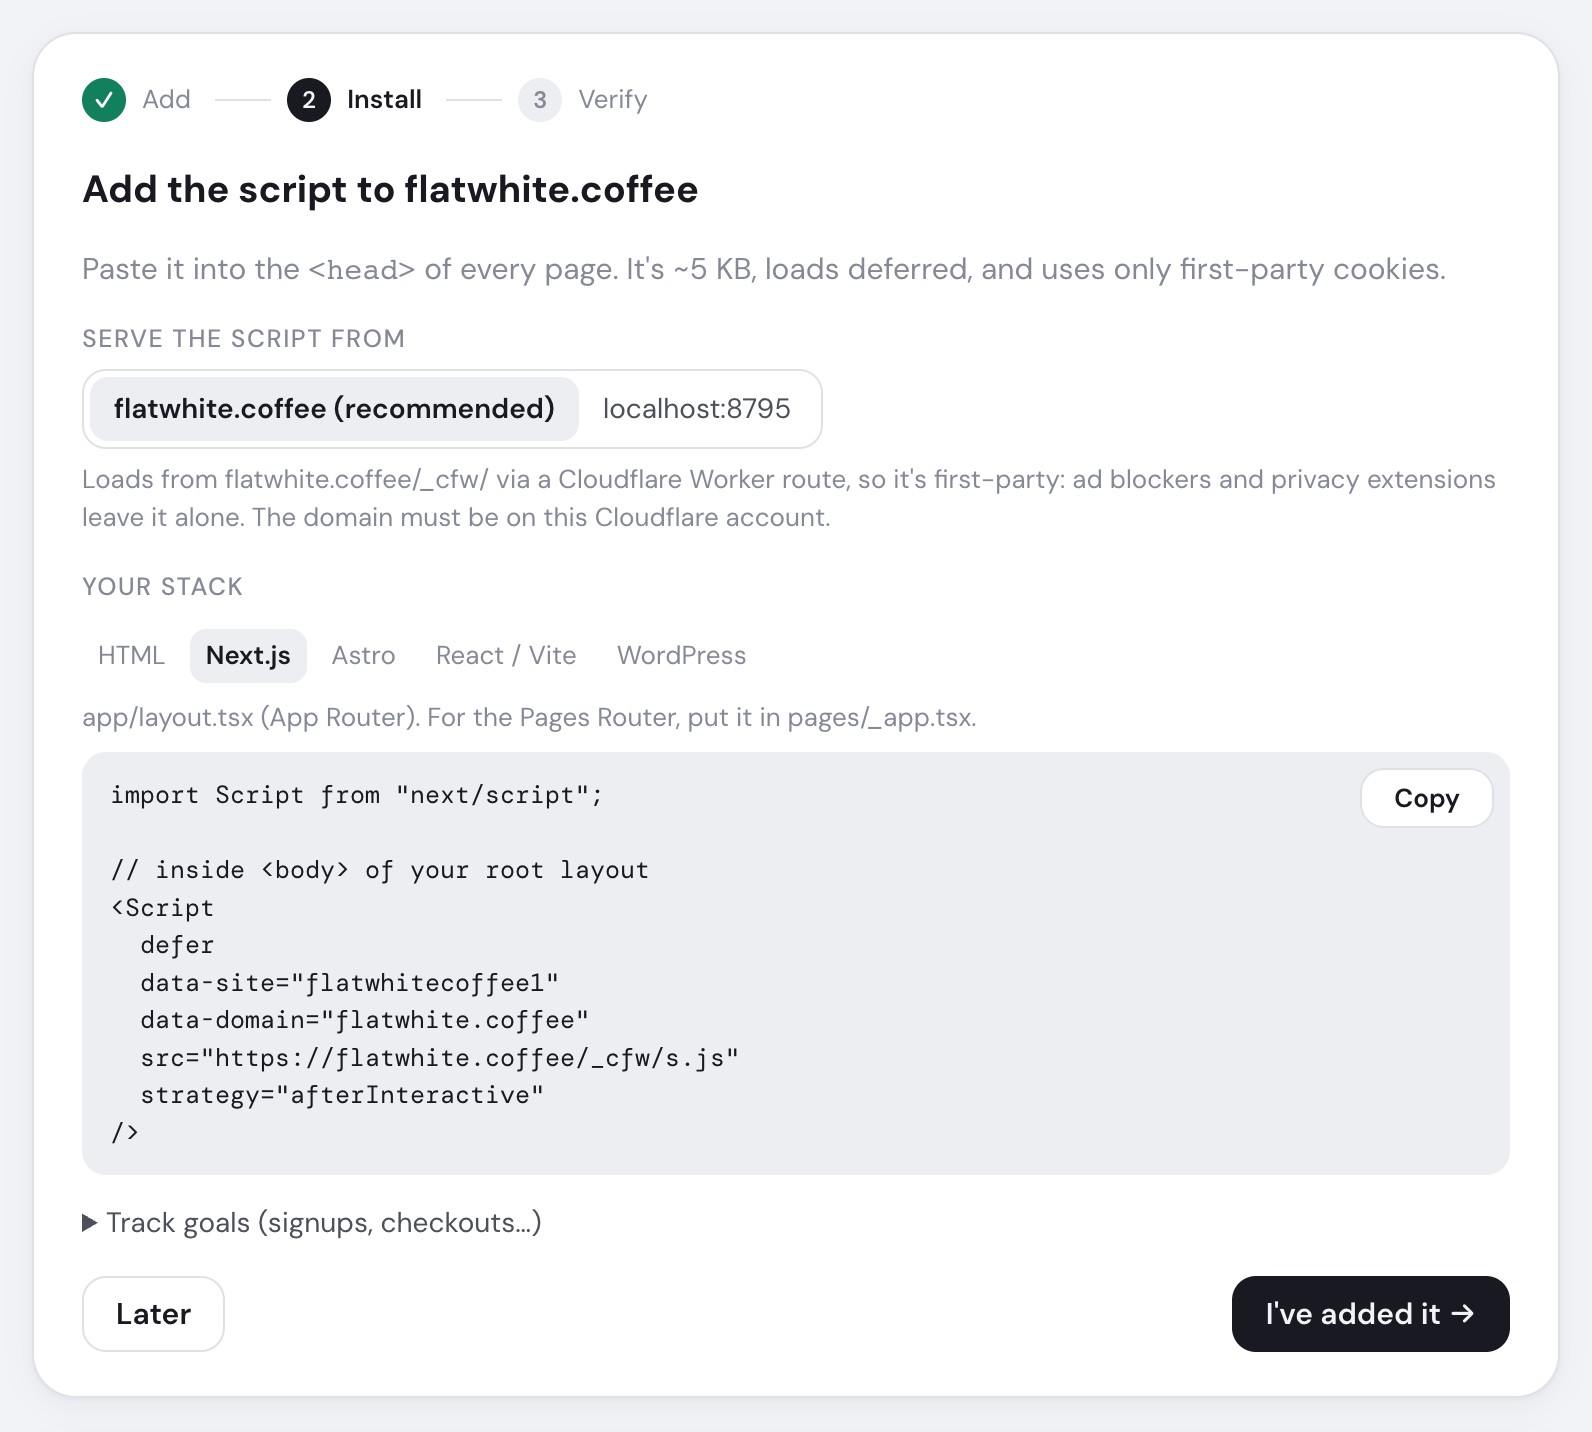
Paste this before </head> in the layout or template shared by every page, then publish:
<script
  defer
  data-site="YOUR_SITE_ID"
  data-domain="example.com"
  src="https://app.usestickybeak.com/_cfw/s.js"
></script>3. Check it's working
Click I've added it →, open your live site, then wait for both checks to pass.
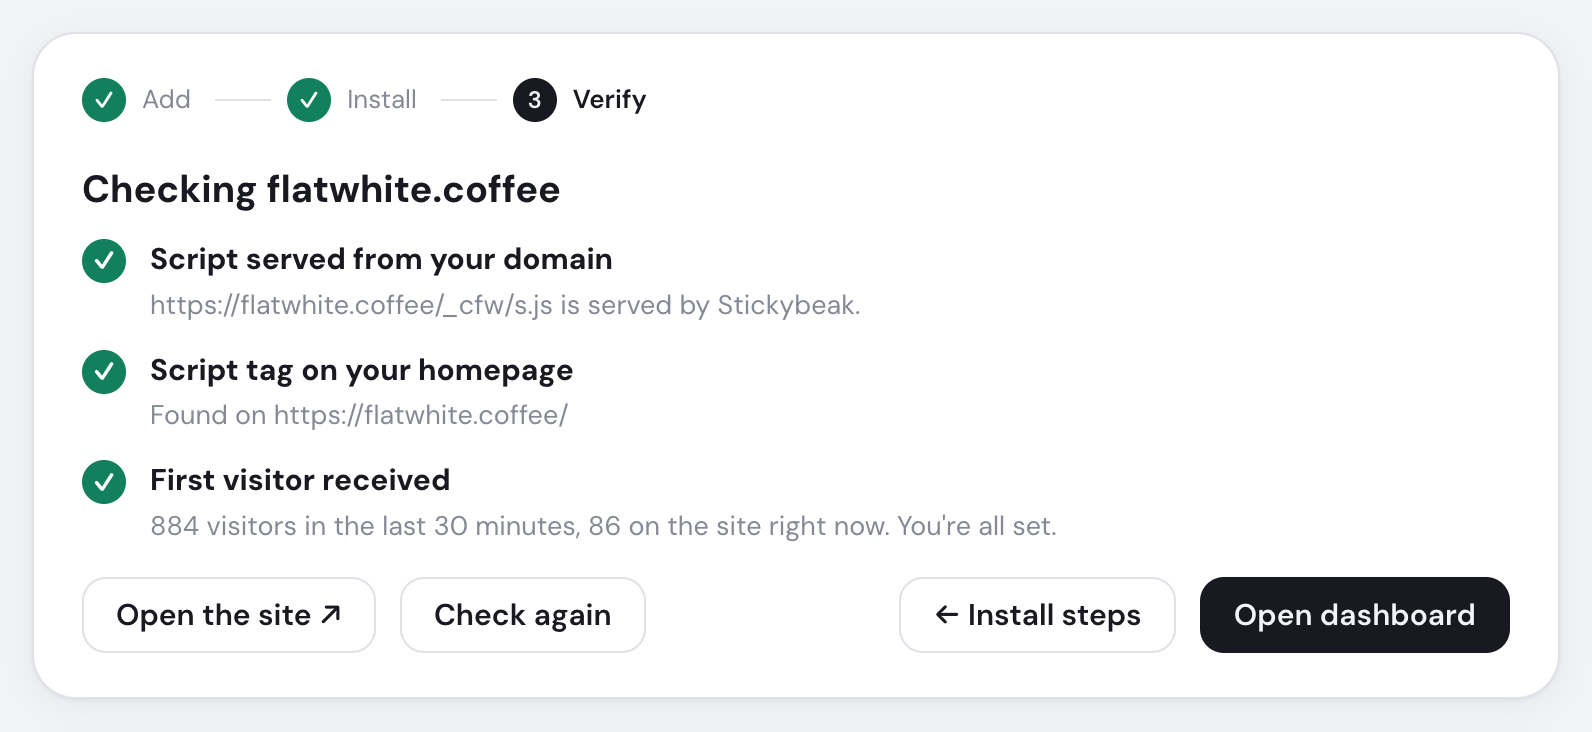
- Verification step is active
- Site domain currently being checked
- First-party tracker route is working
- Homepage contains the tracker tag
- Live visitor data has arrived
If they do not, verify the install. Then exclude your own visits or add a goal.